
Foam RC airplanes are popular among hobbyists due to their affordability, light weight, and resistance to impact. However, they can still suffer from various types of damage during flights or landings. Knowing how to repair these damages efficiently can save both time and money, and keep your airplane in optimal flying condition. This guide will cover the essentials of repairing common damages in foam RC airplanes, including dents, breaks, and wear.
Introduction to Foam RC Airplane Repairs
Foam RC airplanes typically use materials such as Expanded Polypropylene (EPP), Expanded Polystyrene (EPS), or Depron, which are known for their resilience and ease of repair. The right tools, techniques, and materials can restore your airplane, sometimes even strengthening it beyond its original state.
Tools and Materials Needed
Before you start any repairs, ensure you have the right tools and materials. Here’s what you’ll generally need:
- Foam-safe CA (cyanoacrylate) glue or epoxy
- Low-temperature hot glue gun
- Lightweight spackle or filler
- Sandpaper (various grits)
- Clear packing tape or blend film
- Paint for touch-ups
- Scissors or a sharp hobby knife
- Straight edge or ruler
As an Amazon Associate I earn from qualifying purchases.
Common Types of Damage and Repairs
1. Dents
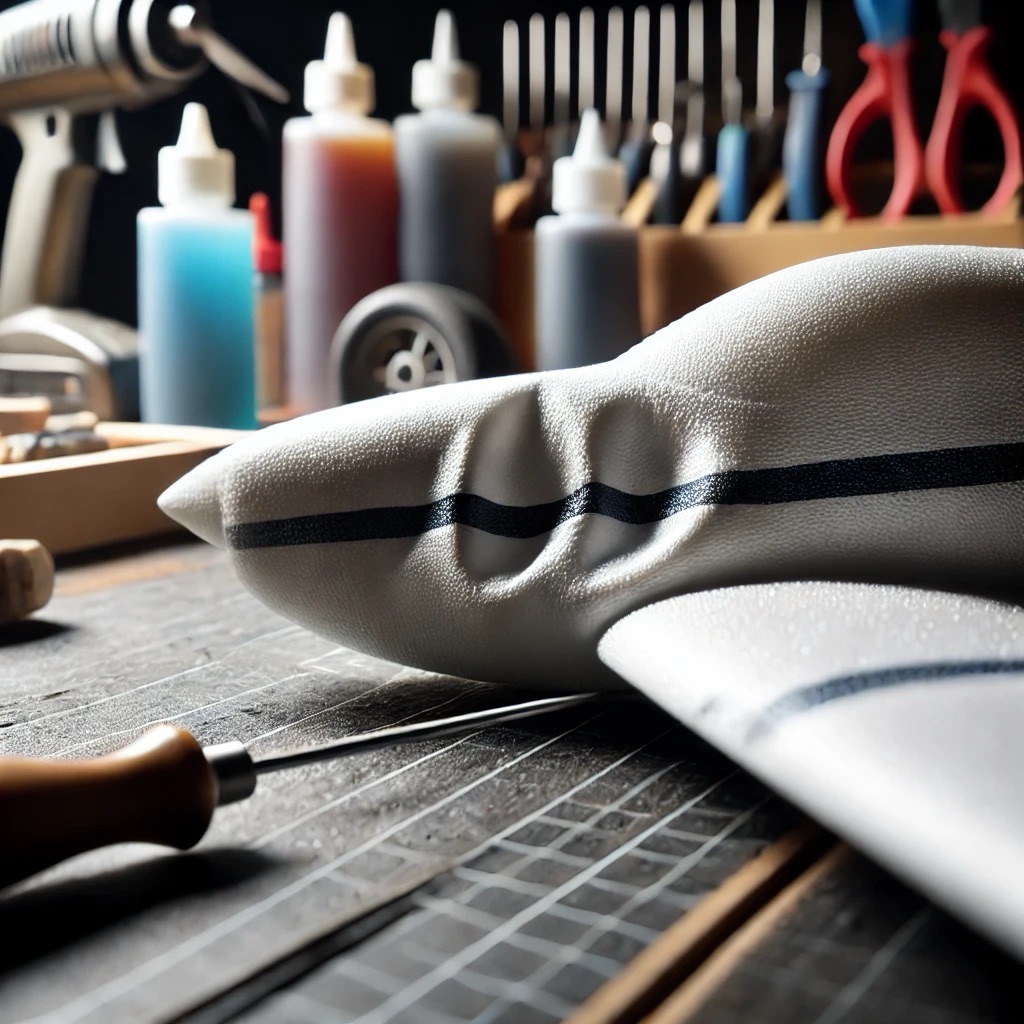
Causes and Prevention: Dents can occur from minor collisions or rough landings. Using proper landing techniques and avoiding hard surfaces can help minimize dents.
Repair Process:
- Fill the Dent: If the foam hasn’t rebounded, fill the dent with lightweight spackle. Allow it to dry completely, then sand it smooth.
- Reinforce if Necessary: For larger dents, reinforce the area with clear packing tape or a patch of foam under the skin.
2. Scratches and Surface Abrasions
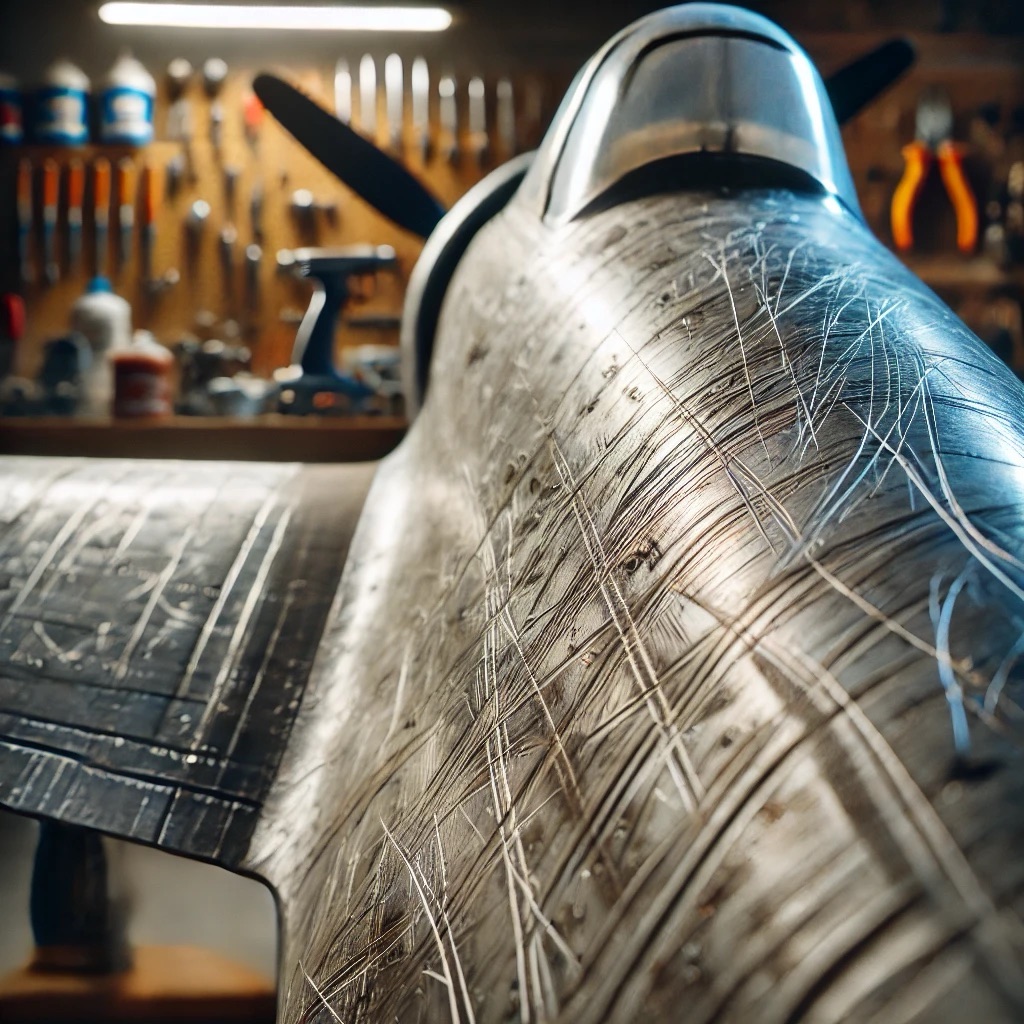
Causes and Prevention: Scratches are often caused by rough handling or flying in environments with abrasive surfaces. Storing and transporting your airplane carefully can help prevent scratches.
Repair Process:
- Clean the Area: Wipe away any debris and ensure the surface is clean.
- Apply Filler: Use lightweight spackle to fill in the scratches. Sand the area smooth after the filler dries.
- Touch-Up Paint: Match the paint to your airplane’s color and apply it to the repaired area to restore its aesthetic appearance.
3. Cracks and Breaks

Causes and Prevention: Cracks and breaks can occur from significant impacts. Flying in safe, open areas and avoiding risky maneuvers near the ground can reduce the risk.
Repair Process:
- Align the Pieces: Carefully align the broken pieces to ensure the airplane will fly correctly post-repair.
- Glue the Pieces: Apply foam-safe CA glue along the break and press the pieces together. Hold until the glue sets. For larger breaks, reinforce with a splint made from scrap foam or plastic and adhere with hot glue.
- Reinforce the Repair: Apply packing tape over the seam for additional strength.
4. Water Damage
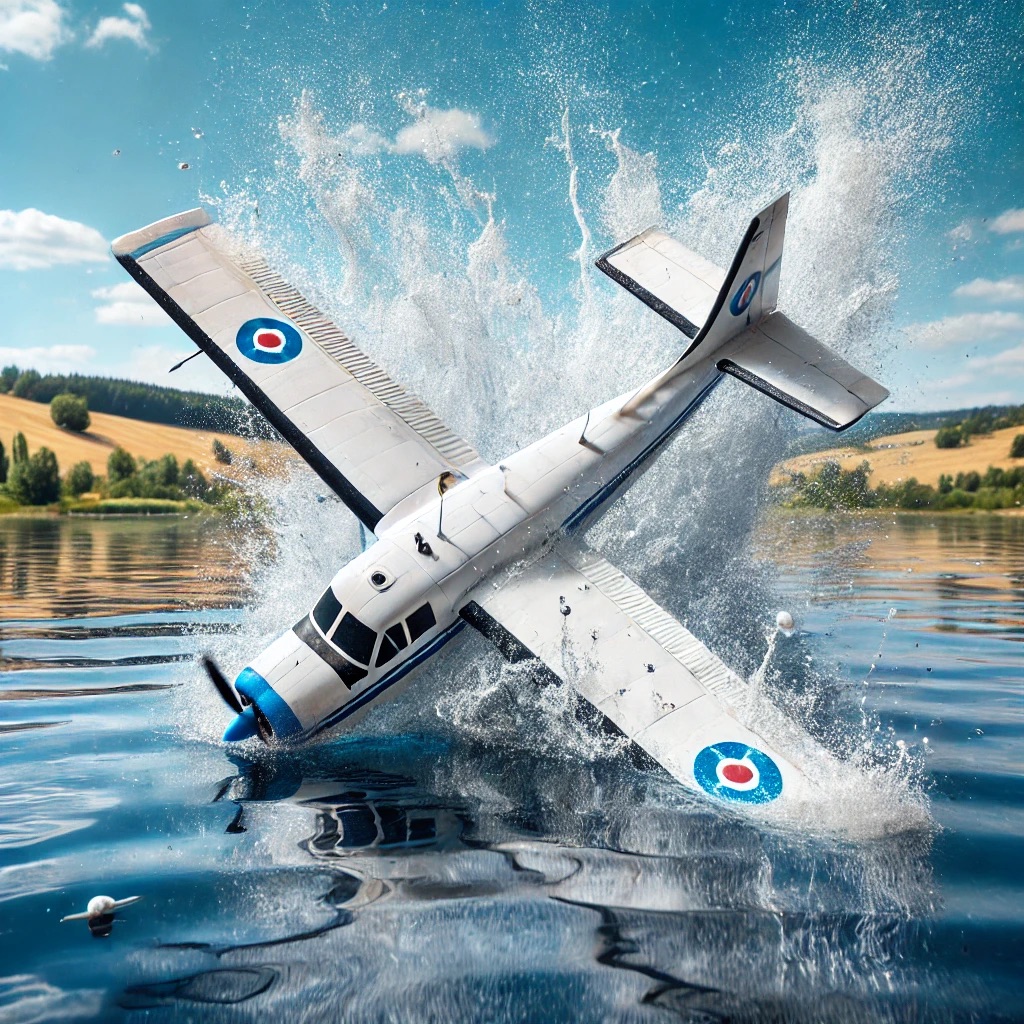
Causes and Prevention: Landing in wet conditions or morning dew can seep into foam, potentially weakening it. Waterproofing electronics and using water-resistant coatings on the foam can help prevent this issue.
Repair Process:
- Dry Out the Airplane: Allow your airplane to dry in a warm, dry place away from direct sunlight.
- Check for Structural Damage: Once dry, inspect for any softening of the foam. Reinforce any weakened areas with glue or a foam insert.
- Waterproofing: Consider applying a water-resistant finish or sealant to protect against future water exposure.
5. Wear and Tear
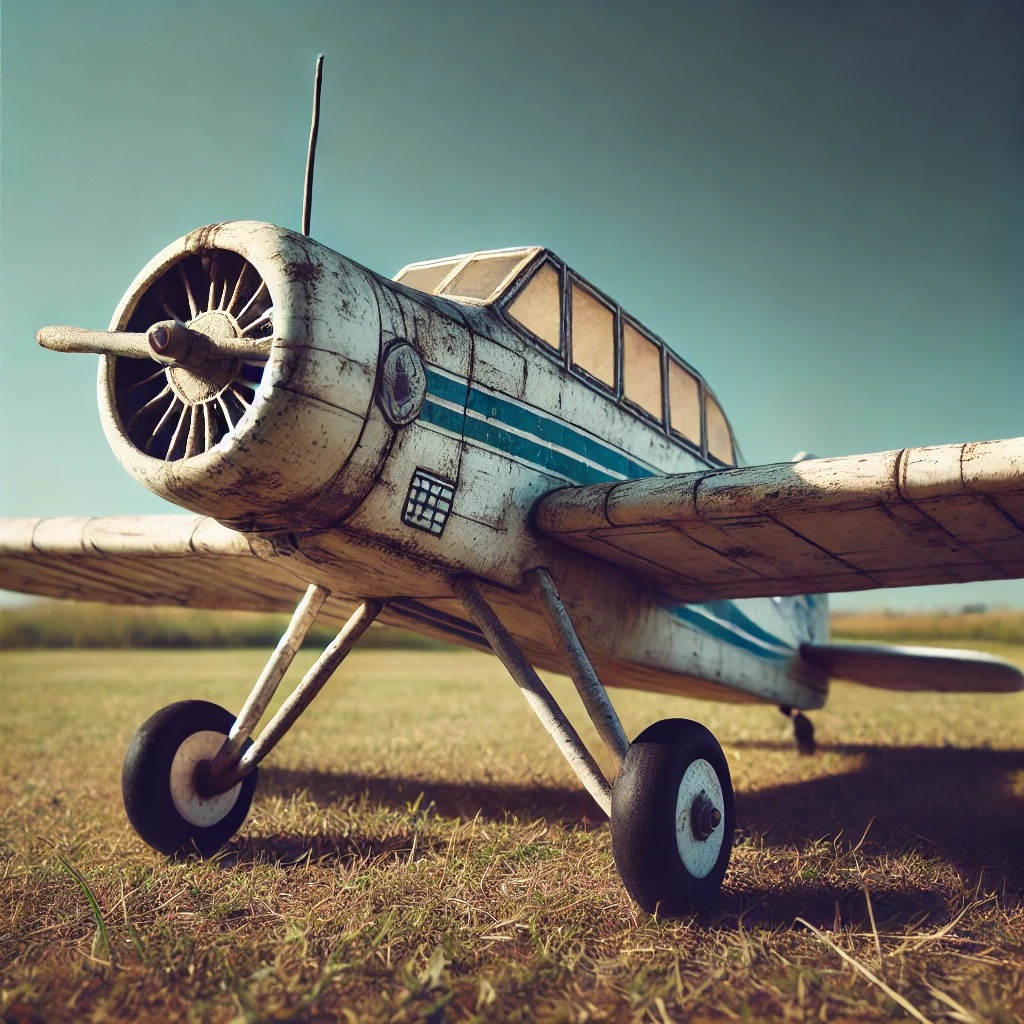
Causes and Prevention: Regular use naturally leads to wear and tear. Proper maintenance and handling can slow down this process.
Repair Process:
- Regular Inspections: Check for areas of wear before and after each flight.
- Replace Worn Parts: Replace parts that are excessively worn, such as landing gear or propellers, which can affect other components.
- Reinforce Weak Areas: Use foam inserts or packing tape to strengthen areas that show signs of wear.
Finishing Touches
After repairs are completed, it’s important to do touch-ups for both aesthetics and protection:
- Paint: Apply matching paint to areas that were filled or sanded.
- Sealant: Use a foam-safe sealant to protect repaired areas from moisture and dirt.
Conclusion
Knowing how to repair common damages in foam RC airplanes allows pilots to maintain their aircraft’s longevity and performance. With the right tools and techniques, most repairs can be done quickly and efficiently, ensuring that your time is spent in the air rather than on maintenance. Whether dealing with minor dents or significant breaks, a well-maintained